How to Install node.js on Windows Step By Step?
Steps to Install Node.js on Windows: To install it you first need to download the files from the official site. Here are the steps that will allow you to run Node JS on your Windows System. Go to the url https://nodejs.org/en/download/ to see the latest version and check the old versions.
Node Js is used in many backend development of website and software’s. You can download the setup file according to your system configuration and follow the below steps-
- Step 1: First and main thing is to download Node.js installable file:
You can download the latest version of Node.js installable files from the url https://nodejs.org/en/.

- Step 2:Here you can deploy the installation of node – v11.13.0. It is the latest version and i am going to deploy the same.


- Step 3: Accept the terms of license agreement and move further.

- Step 4. Select the location where you want to install it. By default location is C:\Program Files\nodejs\

- Step 5. Select the custom Setup

- Step 6. You can check this option if you want to install the necessary tools automatically. After this press the Next button.

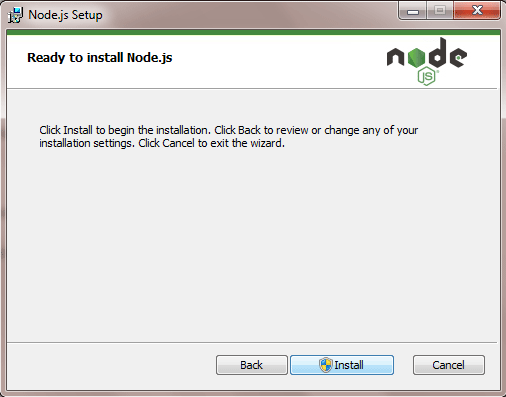
- Step 7. Now its ready to be install. Click the install button.
- Step 8. Below is the process of installing it. Screenshot is start phase of install.

- Step 9. Process of installing the Node.js is completed now.

- After successful installation you can go to command line and check the version of installed Node.js to confirm its installed or not.
Below screen shot will show you how to do this. In the command window write the following command
node -v
I have installed the latest version i.e. v11.13.0 on my system.
Now you are ready to play with Node.js :).

